How to Create and Manage a Memorial on Etern.life
Etern.life helps you mark the location of a loved one’s cremated remains and connect it to a personalized online memorial. Follow the instructions below to create, publish, share, or update their memorial.
Before You Begin
What You’ll Need
Before starting, gather the following:
- Your loved one’s name and biographical information
- The location where their ashes were scattered or biodegradable urn was placed
- Photos you would like to include
- A link to their online obituary, if available
- The GeoTag code included with your Passages International® product
If your loved one’s ashes were scattered previously or you do not have a participating Passages product, you can purchase a standalone GeoTag code to create their memorial.

Create or Access Your Memorial
Step 1: Begin Your Memorial
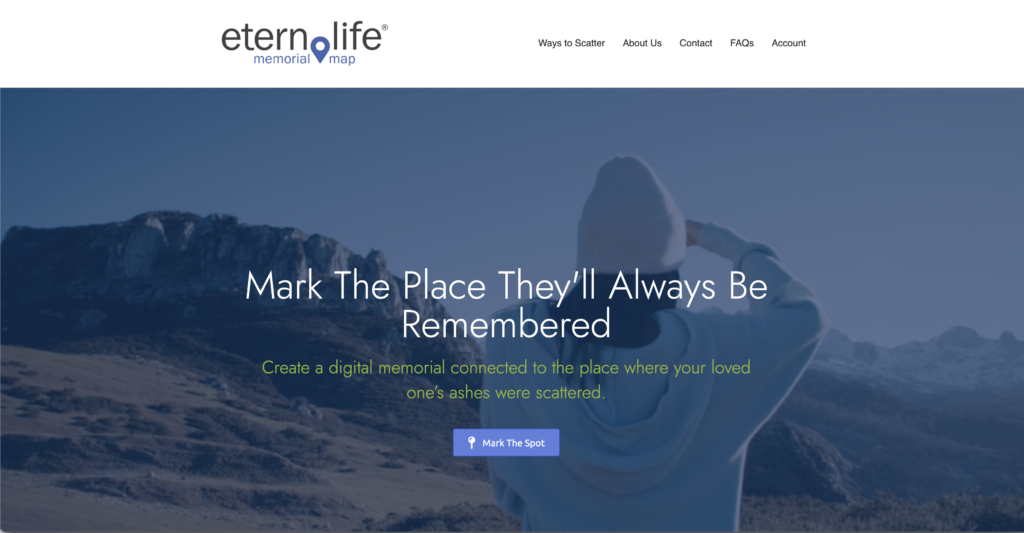
Visit Etern.life and select Mark the Spot.
Step 2: Log In or Register
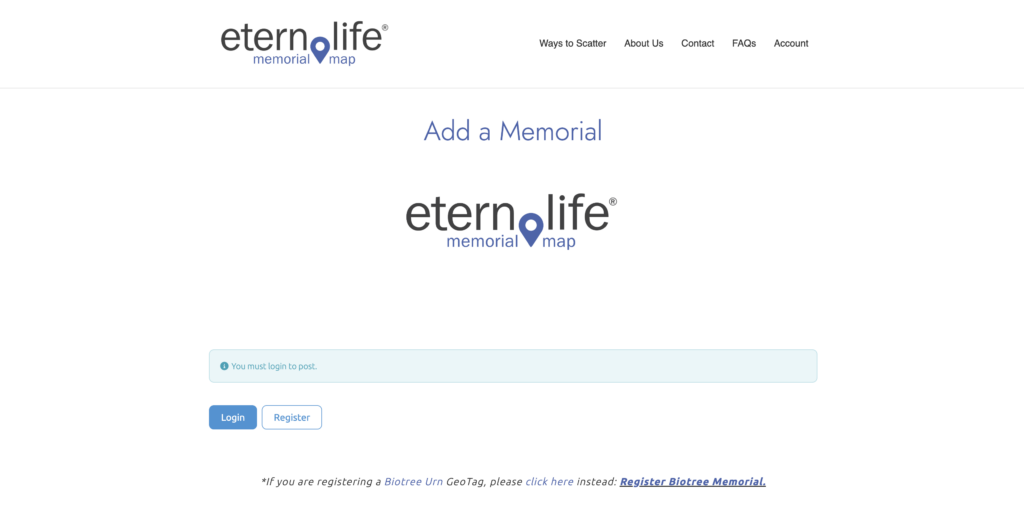
If you already have an Etern.life account, select Login and enter your information.
If you are a new user, select Register and complete the requested fields to create your account.
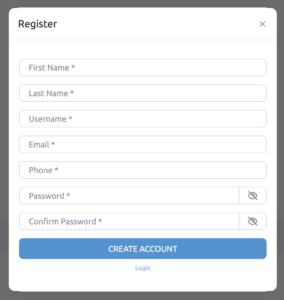
Step 3: Confirm Your Account
After registering, look for a confirmation email from Etern.life. Follow the instructions in the email to confirm your account. You will then be directed to the Add a Memorial page.
If you do not see the confirmation email, check your spam or junk folder.
Enter Memorial Details
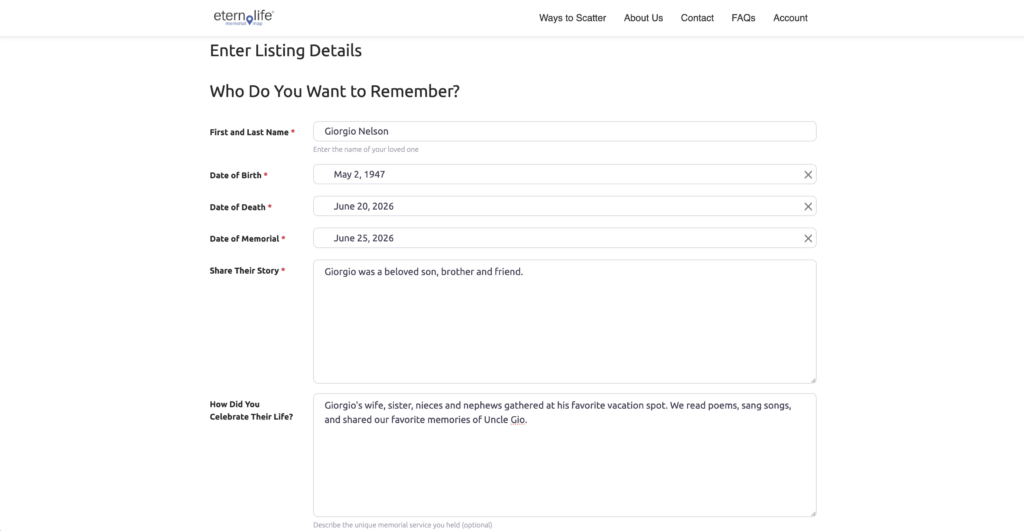
Step 4: Add the Memorial Details
Complete the requested information about your loved one. Depending on what you wish to share, this may include:
- Full name
- Birth and death dates
- Place of birth
- Biographical information
- Memorial message or personal story
Take your time with this section. The information you provide will help family members, friends, and future generations remember the person behind the memorial. Consider including a favorite memory, meaningful accomplishment, personal passion, or a few words that capture what made your loved one unique.
Mark The Location
Step 5: Enter the Location
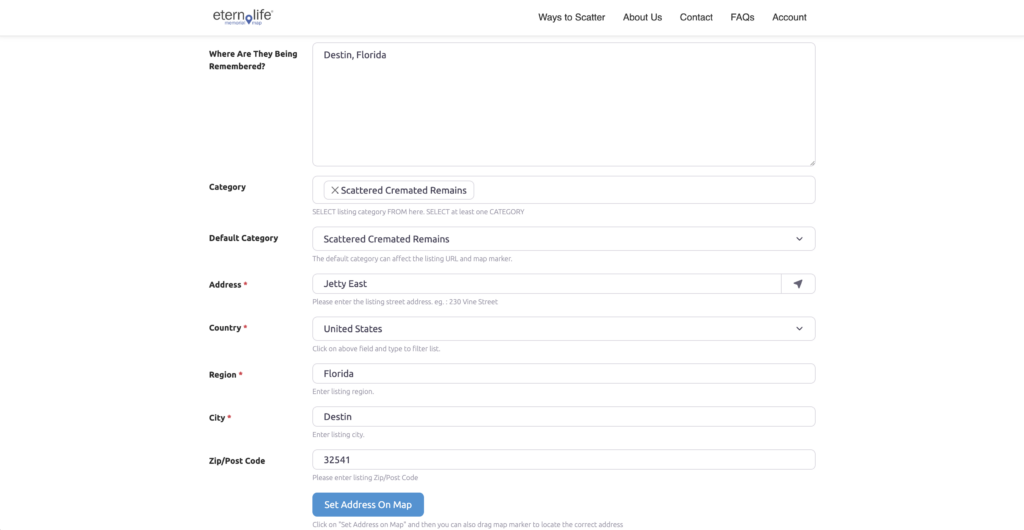
Carefully enter the location where your loved one’s ashes were scattered or their biodegradable urn was placed. Then select Set Address on Map.
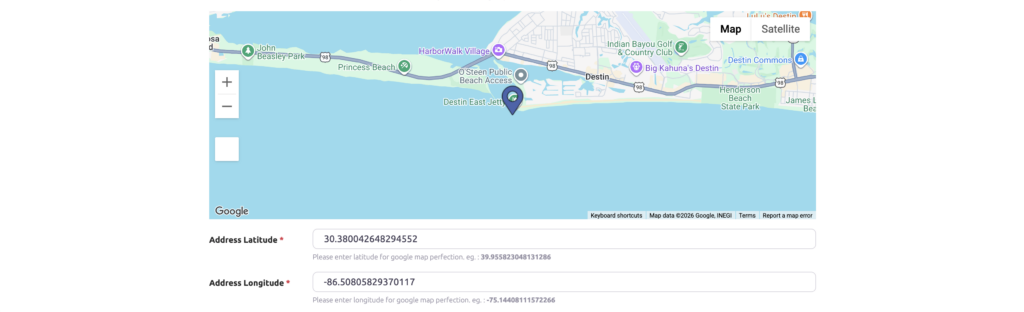
Step 6: Position the Memorial Pin
Review the pin’s placement on the map. You can adjust the location in any of the following ways:
- Enter an address or nearby location
- Click and drag the pin to the correct spot
- Enter the exact latitude and longitude coordinates
Review the map carefully before continuing. The location you choose will become the physical point connected to your loved one’s online memorial.
If the remains are located on private property—or if publishing an exact location would create privacy or access concerns—consider whether the platform allows the family to select a nearby general location instead.
Click here to learn how to find the longitude and latitude through Google Maps.
Add Photos and an Obituary
Step 7: Upload Photos
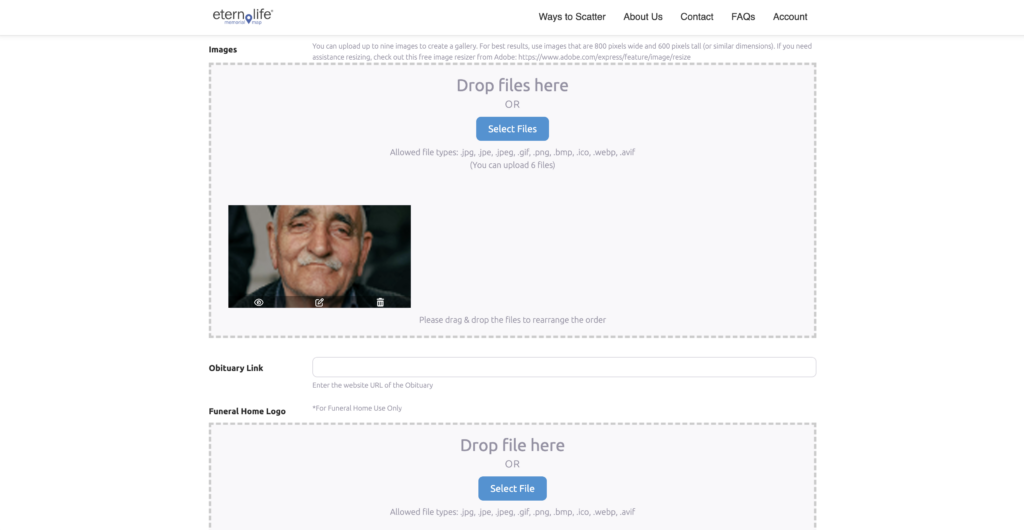
Add photos by dragging files into the upload area or selecting them from your device.
Once the images have uploaded, drag and drop them to arrange the order in which they will appear.
Photo recommendations
For the best memorial presentation:
- Select a clear primary portrait
- Include images that reflect meaningful moments
- Avoid screenshots or very small images when possible
- Confirm that each image is displayed in the desired orientation
Step 8: Add an Obituary Link
If your loved one has an obituary published online, enter the web address in the obituary field. This step is optional.
Verify Your GeoTag Code
Step 9: Enter the Code
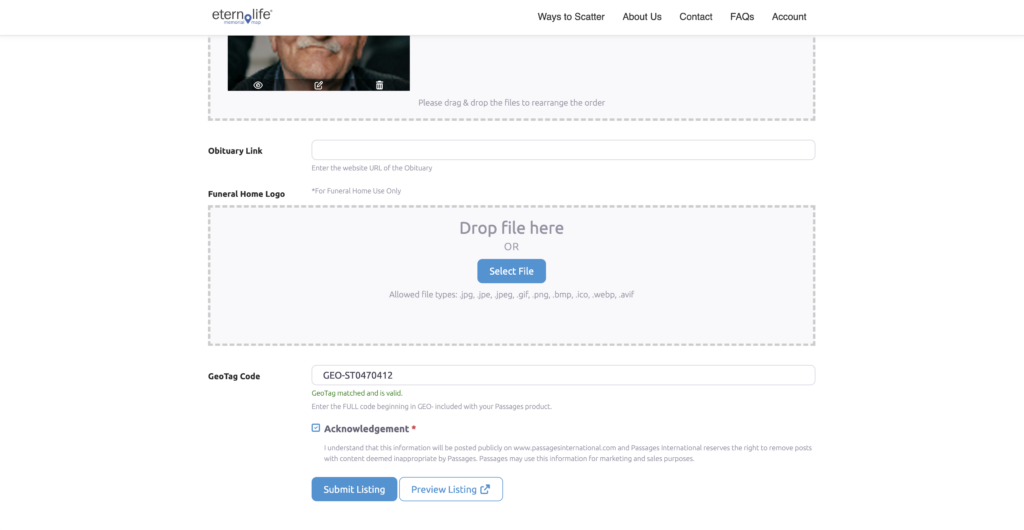
Locate the GeoTag code included with your participating Passages International product or from the email of the purchased standalone code. Carefully enter the code in the designated field.
Step 10: Complete the Acknowledgment
After the code is verified, review and select the acknowledgment checkbox.
Having Trouble With Your Code?
- Check for extra spaces before or after the code.
- Confirm that letters and numbers were entered correctly.
- Make sure the code has not already been used.
- Contact Etern.life support if the code cannot be verified.
Publish and View the Memorial
Step 11: Submit the Memorial
Review all the information you entered. When everything is correct, select Submit Listing.
Step 12: Open the Published Memorial
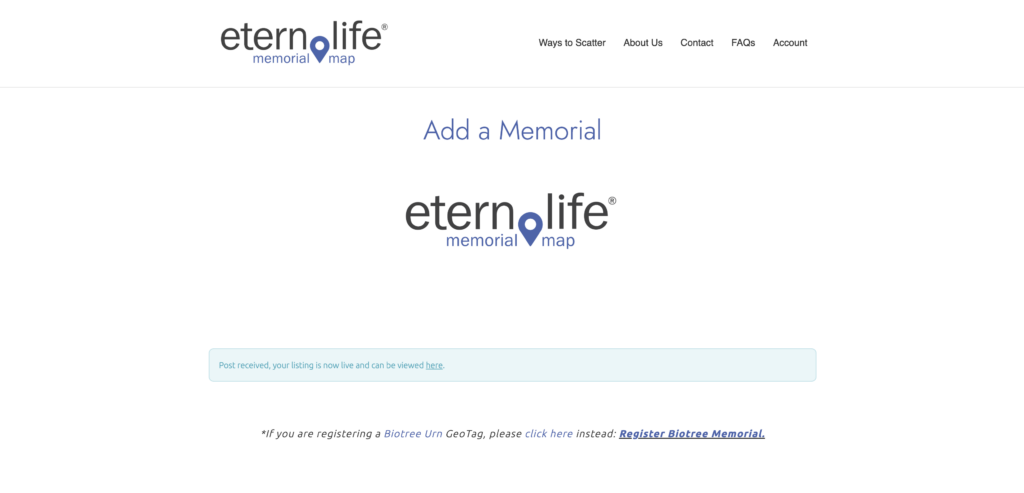
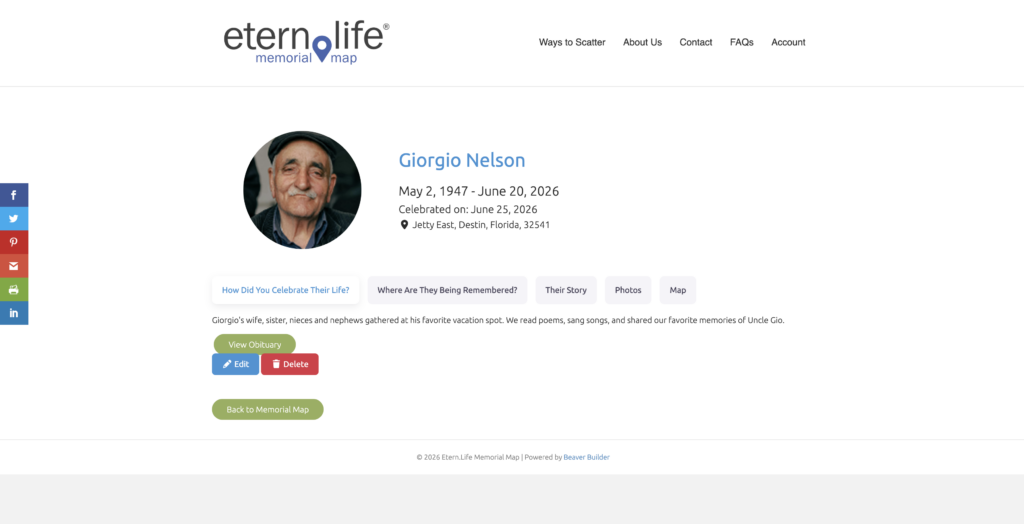
After submitting, you will receive an email and be redirected to a confirmation page. Select the provided link to view your loved one’s memorial.
Step 13: Share It With Family and Friends
Use the memorial’s share options or copy its web address to send it to family members and friends.
The memorial connects a physical place—the location marked on the Memorial Map—with a digital place where family and friends can view photos, read their loved one’s story, and return to remember from anywhere.
Edit an Existing Memorial
How to Update a Memorial
Step 1: Open the Memorial
Log in to the account used to create the memorial and open your loved one’s memorial page.
Step 2: Select “Edit”
Select the Edit button to return to the memorial form.
Step 3: Make and Save Your Changes
Add, remove, or revise the necessary information. When finished, select Submit Listing again.
You will be redirected to a confirmation page once the changes have been saved.
Find a Memorial
Search the Etern.life Memorial Map
You can find a public memorial even when you are not logged in.
Step 1: Open the Memorial Map
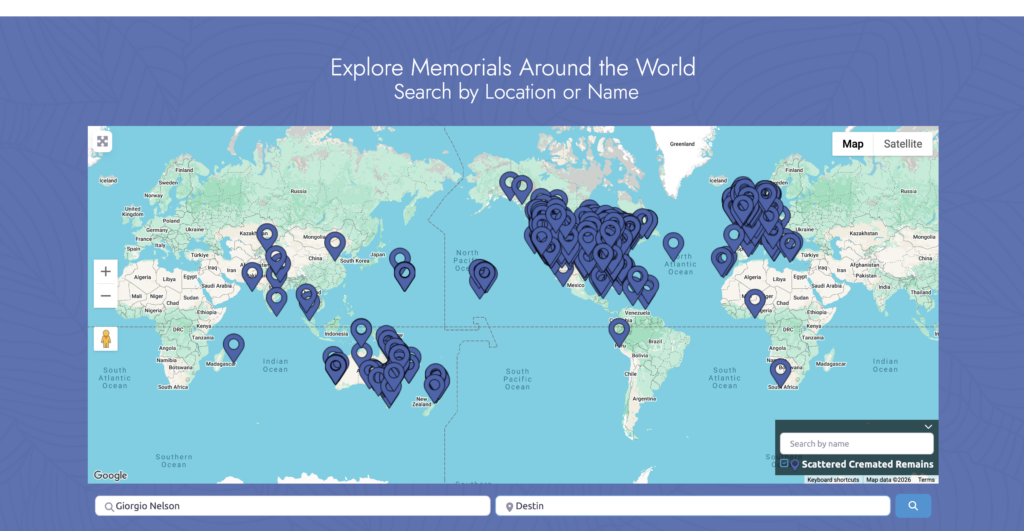
Visit the Etern.life homepage and scroll to the interactive Memorial Map.
Step 2: Search by Name or Location
Enter the person’s name, the location of their remains, or both.
Step 3: View the Memorial
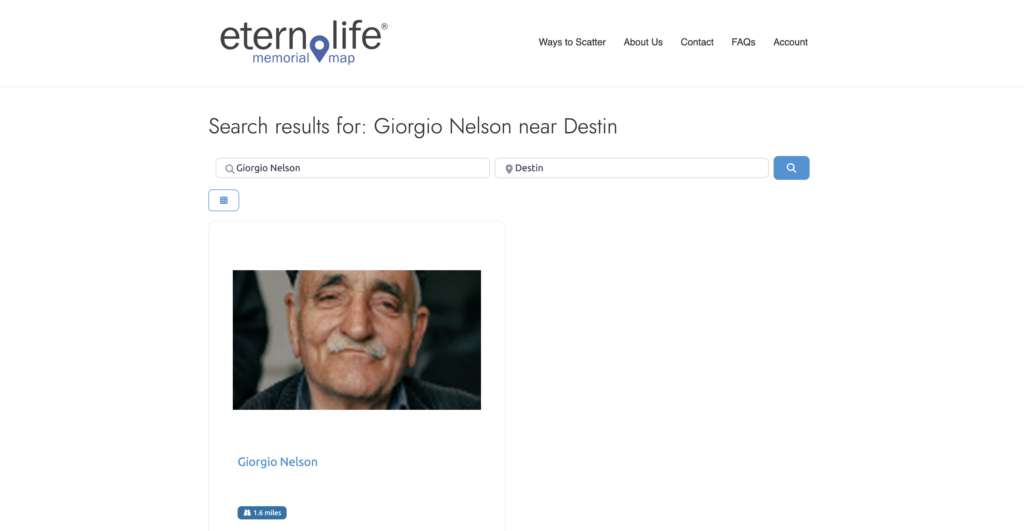
Select the person’s name from the search results to open their memorial page.